OUR DIY SOLAR PANEL ENTHUSIASTS SHOW THEIR PROJECTS
Harold builds his solar panels...
Harold lives in Florida and enjoys the sunshine not only for the beach but also for the power it produces for his DIY panels.
The following ten pictures illustrate Harold building a panel using our
1.4 watt square solar panels.
Click here to see Harold's detailed instructional PDF
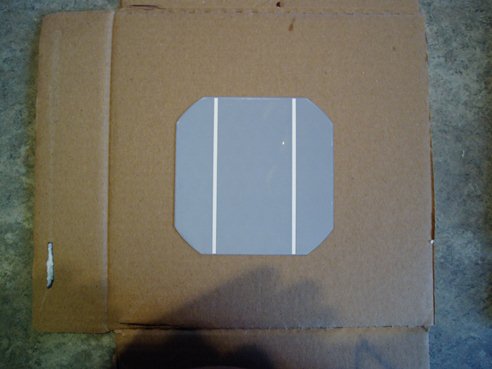
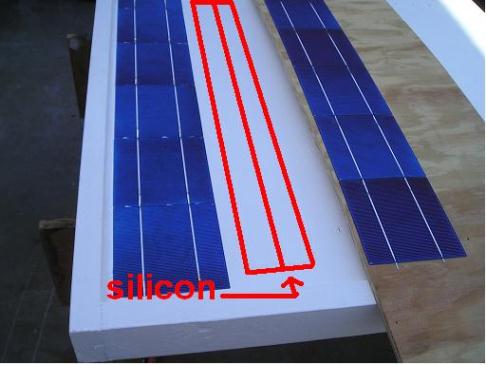
Preparing the backing plate, or "box" as Harold calls it. It is important that the material is good and stiff, an electrical insulator, and does not expand when heating in the sun. Harold chooses acrylic material -- thick plexiglas is great, so is treated plywood.
The risers are importnat as they keep the front glass from crushing the panels. Harold uses solid strips of acrylic glued to the backing plate. Sticky foam used to insulate doors also works great and does save some time.
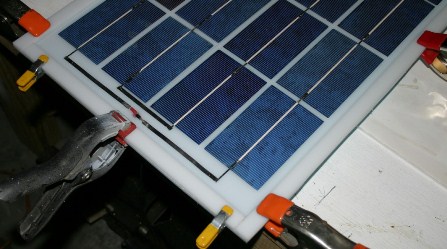
The cells fit nicely in the panel. They will be glued using contact cement but only with a blob about the size of a quarter for each cell. Cells are only fitted once all the back tabbing ribbon is soldered as there is no taking the cells off the backing plate once the glue sets...
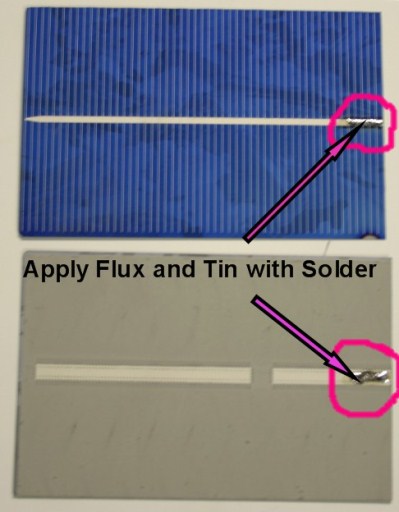
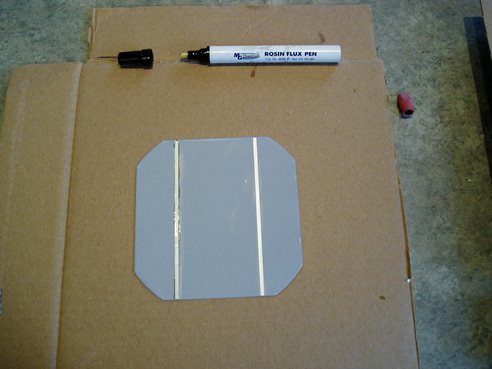
The cells need to be tinned before soldering on the tabbing ribbon. The part where the tabbing ribbon is to be soldered onto the busbar should be shiny. No need to worry about overheating the cell as it melts at 1400 deg. Celcius!
The tabbing ribbon needs to be tinned too. We do sell pre-tinned tabbing ribbon, however, Harold's kit had the non-tinned tabbing ribbon.
There are the cells again...
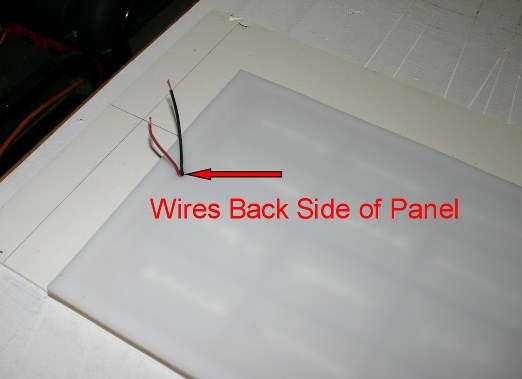
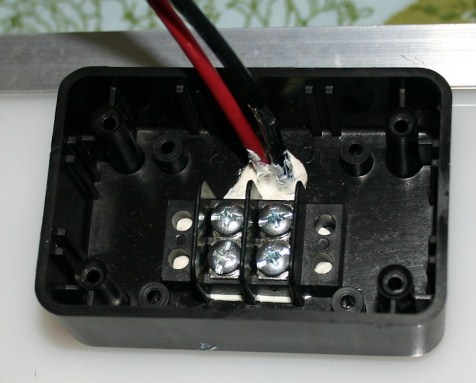
The wires come out of the back where the junction box is then connected. If you prefer just to have the wires exitting the panel without a junction box, that will work too.
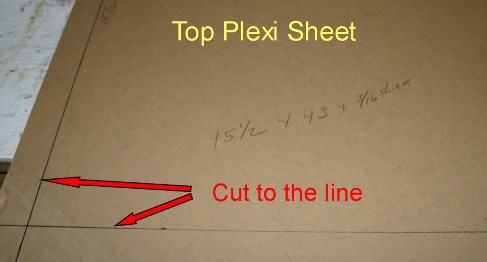
The front of the panel is made of thin plexiglas that does not have a UV protection factor. You can use shock resistant glass although without an encapsulant, glass is prone to breakage if objects are dropped on the panel. The plexiglas is more durable, yet is more prone to scratching if mistreated, such as when scraping ice from the panel in the Northern climates. In Florida, this is not an issue!
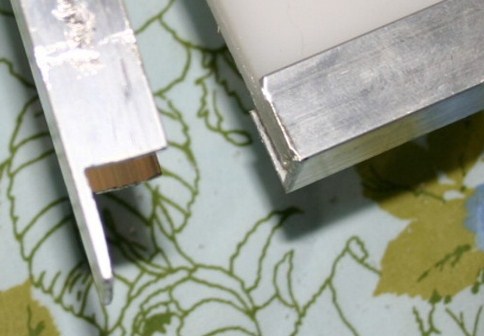
C-Channel aluminum is excellent for fitting the frame. The riser should be matched to the size of the C-channel so that the frame fits tightly with the C-channel groove properly squeezing the front and back plates.
Bruce builds his panel...
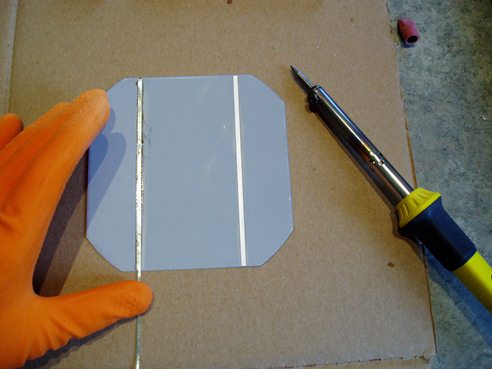
Bruce builds his panels using 5" square solar cells. Soldering the tabbing ribbon is always a delicate procedure.
The tabbing wire has to be positioned, touching the bus bars on the solar cells.
The back of the solar cell is the positive terminal of the electrical circuit produced by the cell. The tabs have to be soldered on the back of one cell to the front of the adjacent cell to make a series circuit.
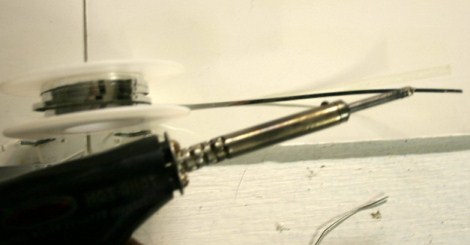
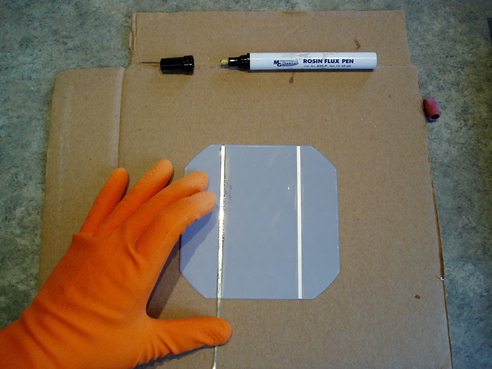
Soldering flux applied to the bus bar aids in the process of making a strong and reliable solder joint. Bruce uses a flux pen, although flux paste applied manually is also an option.
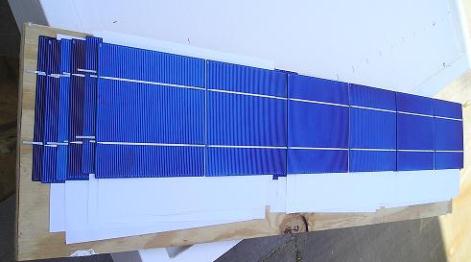
All 36 cells used in Bruce's panel are now tabbed at the back of each cell, as they are ready to be glued to the backing board and then the front of the tabs are subsequently soldered to complete the connection.
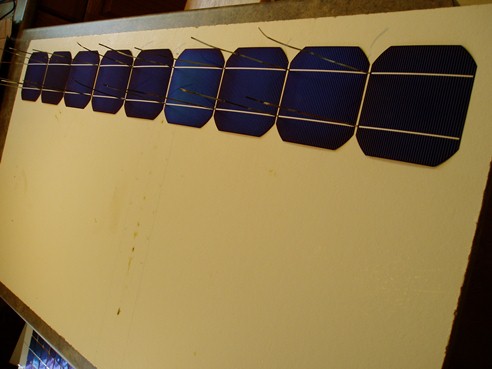
Cells are laid out for mounting...

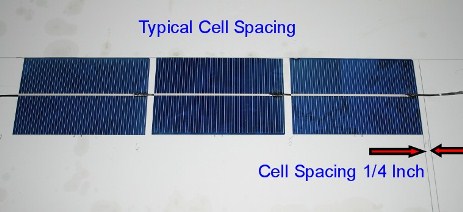
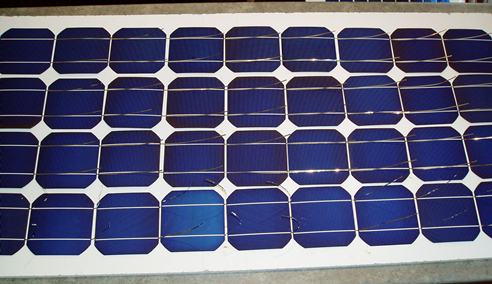
Tabbing ribbon is used to series-connect all the cells. It is important that the soldering joints are well connected as any resistance could result in a hot spot, reducing the panel's power output as well as making a mess of your panel.
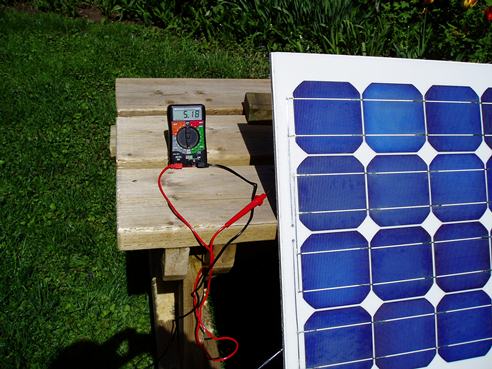
The project is done! The ammeter is the teltale instrument to let you know how well your soldering joints conduct current. Bruce did a great job as the panel reads the current rated for that particular cell.
Ray builds his panel...
Ray uses the 6" cells to make his panel. Here are all the parts before the project begins...

The project is looking good so far...
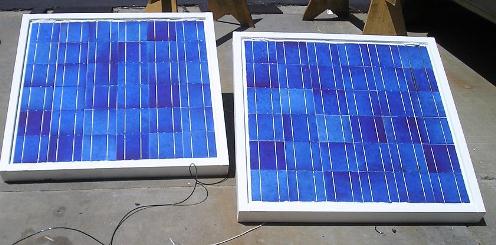
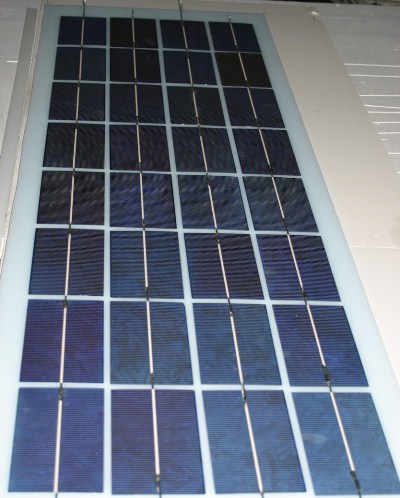
And the project is complete! All of this for a fraction of the cost of a pre-fabricated solar panel!
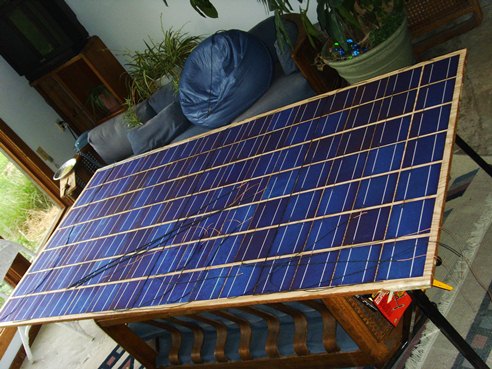
Larry builds his panels...

Larry builds his panels using the 5" cells. Plywood is his choice for a backing plate.
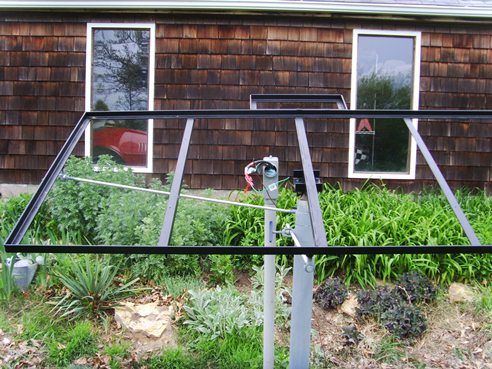
Spencer tries his hand at DIY...
You can do it! Build your own panel and send us some JPG pictures. We will post them on this page with your permission!
Contact us at info@green-first.com for help with your DIY project!